Here’s a 2v2 battle report using the MechaStellar VER9.3 Rules featuring two of our newer units, the GX from Gundam X and Combattler V against Gundam Virsago and Mazinger witht he God Scrander. We are using the SRW Optional Module which doubles HP, provides bonuses for Real Robots and Super Robots and most importantly provides secondary objectives for bonus Victory Points (VP).
Key concepts.
- Momentum [M] is used to protect your units or to pass a failed Armor Save.
- If two Momentum is lost it will be denoted as [M-2].
- Shooting – Enemies roll Evade to avoid your shots. A roll of 1 or 2 is a Critical Hit and worth 2 hits. A roll of 9 or 10 always Evades.
- Target Lock – When the target is within Sensors range 1s, 2s and 3s are Critical Hits on Evade.
- Rapid Fire – When a weapon is within half range it often gains bonus attacks. For instance a beam rifle makes 4 shots, but gains a bonus +1 shot in Rapid Fire range.
- Melee – You and your opponent split your melee dice pools into attack and defense. If the defender survives they get to counterattack. Every 5+ on a d10 is a Hit or Block, every 10 on Attack is a Critical Hit worth 2 Hits.
- Armor Saves – Some weapons like a beam saber have a chance to deal catastrophic damage, the target rolls an Armor Save vs the weapons Armor Penetration (PEN). Each failed Save does 1000 DMG.
Game Narrative
This is a SRW mashup where Garrod and the Combattler team work together to fend off Shagia Frost in his Gundam Virsago. Shagia has managed to convince Koji that the GX has kidnapped Sayaka, when in reality Olba has, enlisted him as an unlikely ally.
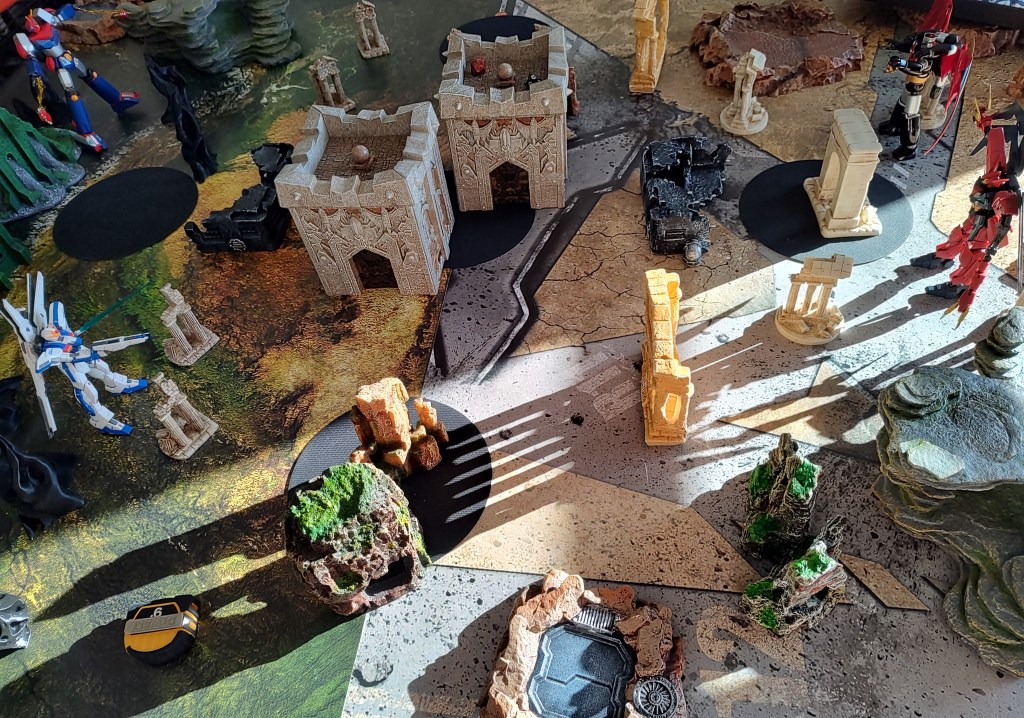
Round 1
Combattler V Pilot Team – Juzo (Marksman) + Daisaku (Powerhouse)

Garrod wins init and fires at Virsago, scores 2 hits even after Ace Evade

Virsago takes the high ground and scores 3 hits back on Garrod after Ace Evade, and another [M-1] due to pass a failed Armor Save. Virsago uses the hit and run ability from the SRW module and falls back behind cover, but stays within 8″ of the center point on the battlefield to potentially score +15VP from Control the Battlespace.

Combattler V sees a good strategy and employs the same using Redline and full throttle to get on top the high ground and using Daisaku for a bonus action allows him to use both the Super EM Yo-Yo and Big Blast Divider straight into Virsago below dealing an additional 3200 DMG total.
Combattler V however is out of movement and on the high ground making him a very visible target.
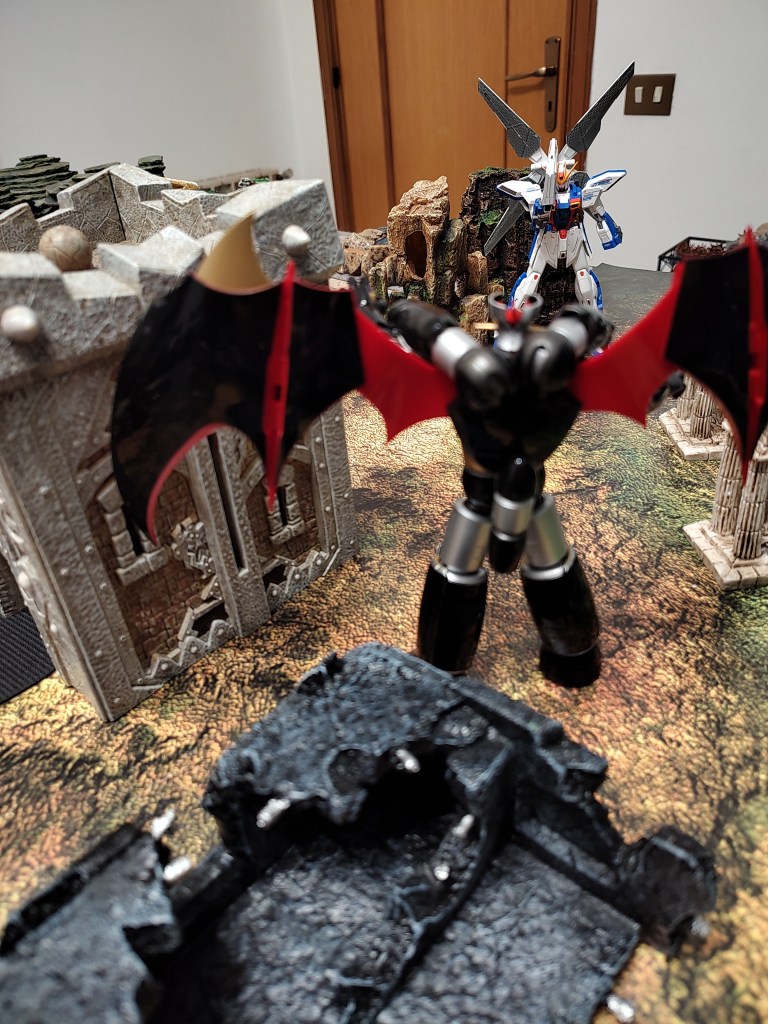
Shin Mazinger with the God Scrander uses Red Line to move past the midfield, setting himself up next turn to Blindside Combattler V. In the meantime Breast Fire lands 8 hits for 2400 DMG and a failed Armor Save [M-1] and the two rocket punches land 8 hits for 2400 DMG.
Remaining HP 10,600/15,200 Combattler 4200/8000 Virsago 6800/7400 GX
End of Round Momentum Mazinger + Virsago = M5 | GX + Combattler V = M2
End of Round VP
- GX Combattler V Destruction 0VP + Survival 0VP
- Mazinger Virsago Destruction 5VP (Momentum) + Survival 10VP (Full HP)
ROUND 2
Combattler V – Hyoma (Daredevil) + Chizuru (Fighting Spirit)
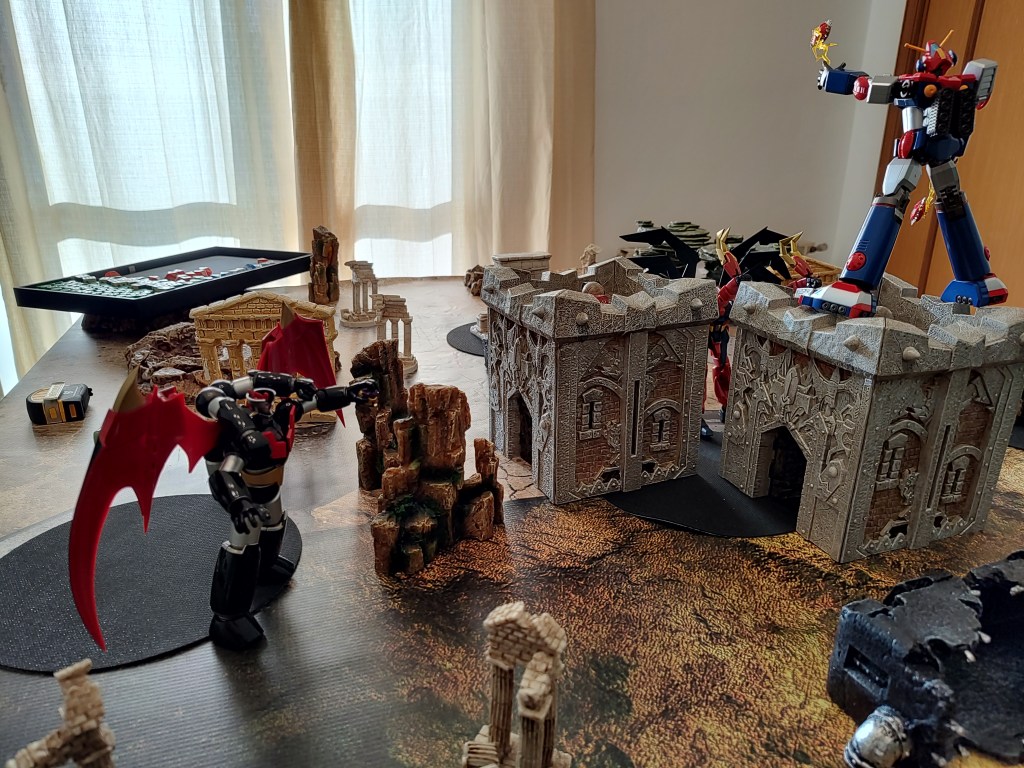
Mazinger with God Scrander is up first much to Combattler V’s detriment since he will be striking from the rear arc and dealing massive damage. Since he redlined the engines last turn he cannot do so again.
Combattler V is lucky so far, with Ace Evade he rolled only 2 Hits when Evading Breast Fire. Make it Count + Blindside brings the total to 7 Hits for 2100 DMG and all Armor Saves were luckily passed. Next are the Rocket Punches doing 6 Hits each thanks to Blindside and the Quest for Vengeance trait plus RF+5 each.
The Combattler Teams luck continues with only 1 Hit and 3 Hits from the two Rocket Punches (plus the aforementioned 6 Hits each) bringing the total to 7 Hits and 9 Hits for 2100 and 2700 DMG and thankfully no failed Armor Saves. Mazinger then strafes towards the backfield to engage GX later.
Badly damaged Combattler V out in the open rallies for a small +800HP, and with Chizuru’s pilot trait they regain [M+2]. They try and finish off Virsago before it can take a turn.
Virsago’s luck unfortunately is very poor this battle with 9 Hits from the Super-EM Yo-Yo and 7 Hits from the Big Blast navel missile with [M-3] to lower it to 4 Hits. Virsago takes 1800 DMG and 1600 DMG and survives with 800 out of 8000 HP remaining.
Combattler V was hoping to avoid melee, well now or never.

Melee triggers an Overwatch from Virsago’s claw beams dealing 3 Hits, thanks to Hyoma’s trait he spends [M-1] to drop it down to 1 Hit and fortunately passes the Armor Save.
Combattler V splits their Melee dice into 9d10 ATK and 2d10 DEF, a terrific attack roll results in 11 Hits with the Twin Lancer, Shagia Frost the Cunning Pilot however rolls a miraculously +10 Blocks from their pilot trait.
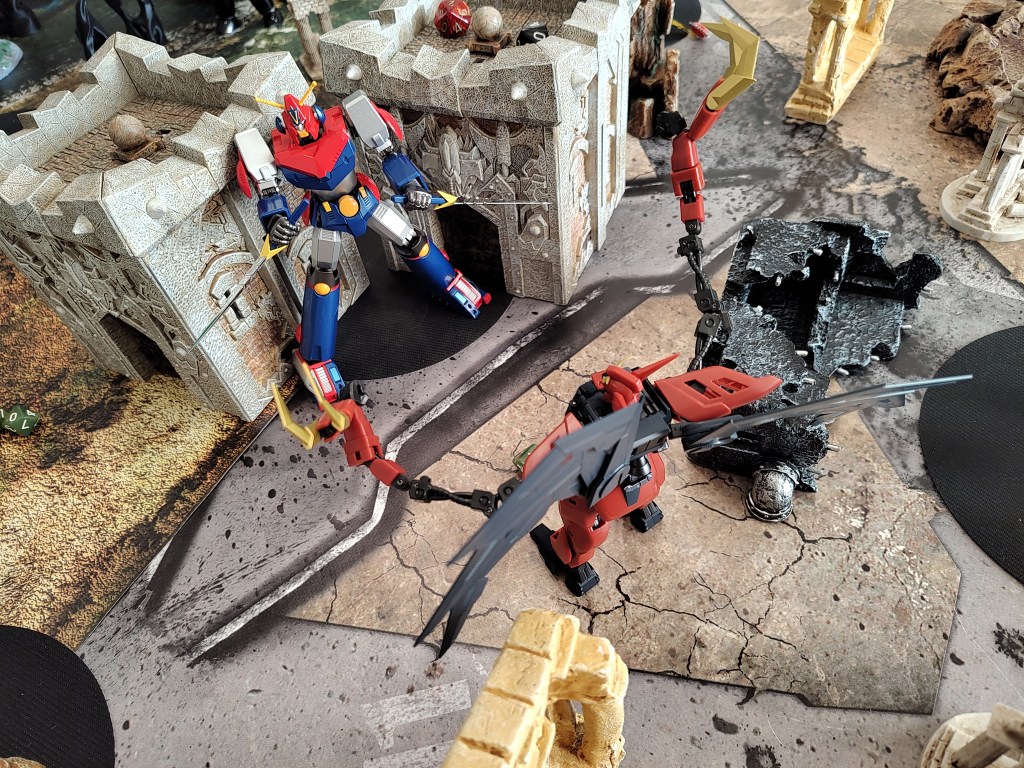
Shagia split his melee dice ATK 6d10 and DEF 2d10. He gets 2 Blocks on DEF and 4 Hits on Counterattack. Combattler V gets 2 Blocks on DEF +1 from the Twin Lancer and uses their recently acquired Momentum from attacking in Melee to block the last hit rather than make an Armor Save against a Beam Saber. Both units are locked in melee combat.
Surprising everyone, Virsago survived this turn.
Below 50% HP they choose to gain [M+2]. Shagia Frost then starts with melee using Virsago’s beam saber scoring 9 Hits vs Combattler Vs 8 Blocks and [M-1] emptying their Momentum pool. Once again despite the high impact attacks both units are stuck in melee combat. Having survived the beam saber assault Virsago burns [M-2] to disengage and attack.

Starting with the Strike Claws Virsago scores 9 Hits for 2700 DMG on Combattler V who rolls a terrible armor save failing 3 rolls for +3000 DMG. Out of Momentum they are destroyed. When destroyed Chizuru gives [M+3].
Garrod declares revenge on Shagia Frost.
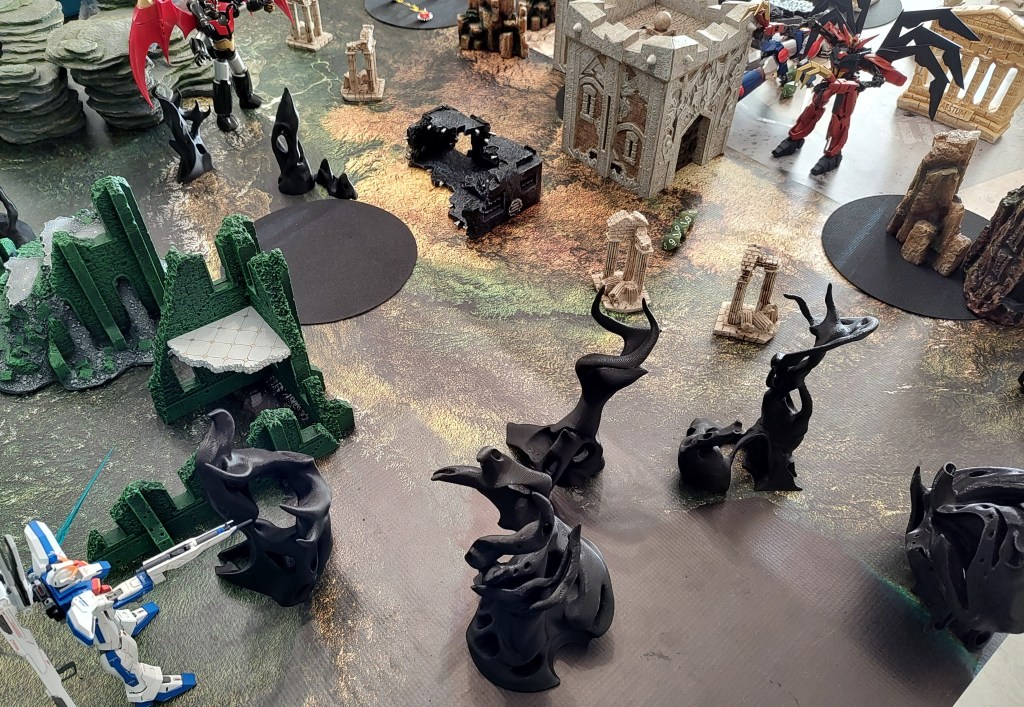
Virsago then uses its claw beams to rake at GX from a distance scoring 2 Hits and burning [M-1] on an Improvise roll. Then they retreat behind LOS cover.
The GX is up and feeling the heat as the lone survivor. If they want to win they need to somehow survive to use the satellite cannon.
They use Full Throttle and Red Line to move up the midfield and get within Sensors range of Virsago. After an Improvise Roll from Virsago [M-1] the beam rifle manages to scores 3 Hits +2 more Hits from Revenge, Virsago burns another [M-3] to survive, rolls 2 Armor Saves, fails them both and is shot down for good.

Well done Garrod! (Revenge +6VP)
Koji declares Revenge on Garrod with the destruction of Virsago.
End of Round HP Remaining 6400/7400 GX
End of Round Momentum Mazinger 1 GX 5
End of Round VP
- GX Combattler V Destruction 10VP + Survival 0VP + Control Center 15VP
- Mazinger Virsago Destruction 5VP + Survival 10VP (Full HP) + Control 0VP
ROUND 3

Garrod is luckily up first and his shield beam rifle even luckier scoring several critical hits although 2 of them are rerolled thanks to Mazingers improvise roll. Still 7 Hits get through for 2100 DMG and Mazinger rolls a terrible series of Armor Saves failing 3 for +3000 DMG. Garrod then moves backfield to put distance between him and Mazinger.
Mazinger is up next and away from cover does a Rally recovering +1000 HP. Redline gives a fantastic 22″ across the board finishing near the center point. Mazinger is close enough for a double rocket punch auto-hitting 3 times base +1 Quest for Vengeance +2 for Revenge for 12 Hits total and Make it count for 2 more hits. Altogether this deals 4200 DMG and a failed Armor Save for 1000 DMG.
EOR HP Remaining Mazinger 11300/16400 GX 1200/7400
EOR Momentum Mazinger 1 GX 6
End of Round VP
- GX Combattler V Destruction 5VP (Momentum) + Survival 5VP (<50% HP) + Control 0VP
- Mazinger Virsago Destruction 0VP + Survival 0VP + Control Center 15VP
ROUND 4
Garrod is up first and while they’d like to wait till Round 5 to fire the Satellite Cannon for free they aren’t confident they can survive a full round of Mazinger letting loose with a full volley, they barely survived while being at a far range. It’s now or never.
GX moves within 16″ to focus fire the satellite cannon. 9 Hits + 2x Focus + Make it Count 13 Hits totals (9100) and 3 failed Armor Saves (+3000) dealing 12,100 DMG!
End of Round Momentum Mazinger 1 GX 3
End of Round VP
- GX Combattler V Destruction 5VP + Survival 5VP (<50%HP) + Control 0VP
- Mazinger Virsago Destruction 0VP + Survival 0VP + Control 0VP
Round 5
The GX moves to the center point.
EOR Momentum Mazinger 2 GX 4
End of Round VP – GX Combattler V Destruction 0VP + Survival 5VP (<50%HP) + Control Center 15VP
Final Victory Points
Game Duration 50 minutes
Combattler V + GX Simple Battle 17VP + SRW 70VP =87VP
- Frame 8VP
- Pilots 4VP
- Revenge +6VP
- Commander +4VP
- Lost a Critical Machine = -3VP
- Lost an Ace = -2VP
- SRW Module Destruction 0+10+10+5+0 = 25
- SRW Module Survival 0+0+5+5+5 = 15
- SRW Module Control the Battlespace 0+15+0+0+15 = 30
Mazinger + Virsago Simple Battle 0VP + SRW 55VP
- Frame 5VP
- Pilot 5VP
- Lost a Critical Machine = -6VP
- Lost 2 Aces = -4 VP
- SRW Module Destruction 0+5+10+5 = 20
- SRW Module Survival 10+10+0+0 = 20
- SRW Module Control the Battlespace 0+0+15+0 = 15
Mecha Tactics After Action Report
Mazinger + Virsago player
This was actually our 2nd game in a series, I conceded the first one after playing too aggressively and getting Virsago annihilated in Round 1 so that was a good wake up call to change strategy.
I was on the backfoot most of the game and honestly got very lucky with Virsago surviving all those attaacks from Combattler V. Neither of us expected that and then I got to immediately strike back and finish them off. Usually in a 2v2 SRW match after you take out the first enemy, victory is within reach but of course Garrod rolls great on Redline and is able to get LOS on Virsago finishing him off.
Still I had the invincible super robot Mazinger Z, and not just any Mazinger a high performance God Scrander with some powerful tools and great HP. I thought it would still be an easy victory because Garrod is only a skilled pilot so as long as I could get close I could drown him in attacks and the GX’s low HP would crumble.
Fortunately for my opponent she kept winning initiative allowing Garrod to flee and stay out of reach. With the GX’s anti-beam coating it put me in a tough spot since most of my strong attacks are [E]nergy based. I opted for the rocket punches for all the auto-hits but wasn’t enough to bring them down. I went second again in Round 4, and low on Momentum I got obliterated by the satellite cannon.
Perhaps I should have played keep away and kept scoring VP in the center line while hiding outside LOS. Well, I suppose the GX could have used Redline to take the high ground in the center and finish me off anyways. Better to fight than flee, always.
I am happy we decided the satellite cannon be usable in Round 4, and free in Round 5. It gives the GX player a chance to be amazing in Round 4 provided they banked enough Momentum.
Combattler V + GX Player
Wooo! My first time using the satellite cannon. I got very lucky winning initiative back to back, otherwise I would not have been able to win and poor Garrod would have been crushed beneath another hundred rocket punches.
This is my second game series using a super robot with a five-pilot team, in the past I used Go-Lion to great effect but Combattler is an interesting unit with a lot more emphasis on ranged attacks, and they LEGIT have a ton of ranged attacks. I think they may have the most attacks out of any Super Robot we have worked with (or will work with). Not bad for the very first 5-man combining robot!
In this game I played too aggressively by having Combattler V take the high ground and try to finish off the Virsago in Round 1, because being a really big 60m robot on top high ground means I am a very big target. And so Mazinger got to unload on me. Lesson learned.
Last but not least the SOC FA (Full Action) Combattler Figure was really easy to pose which made for some great shots. I think we’ll pick up another SOC FA figure after this.
