
NOTE: I took a break from blogging for a bit as my duties at work increased. These drafts are from the VER 2 rule set, we’ve since had many playtests and made it to VER 5 which is a very different game. We’ll have more to post in the future.
Before we put the terrain away we decided it would be fun to try out a game using Zeta Gundam units and see the overall mission would change now that we were using higher performing units with better movement and mobility.
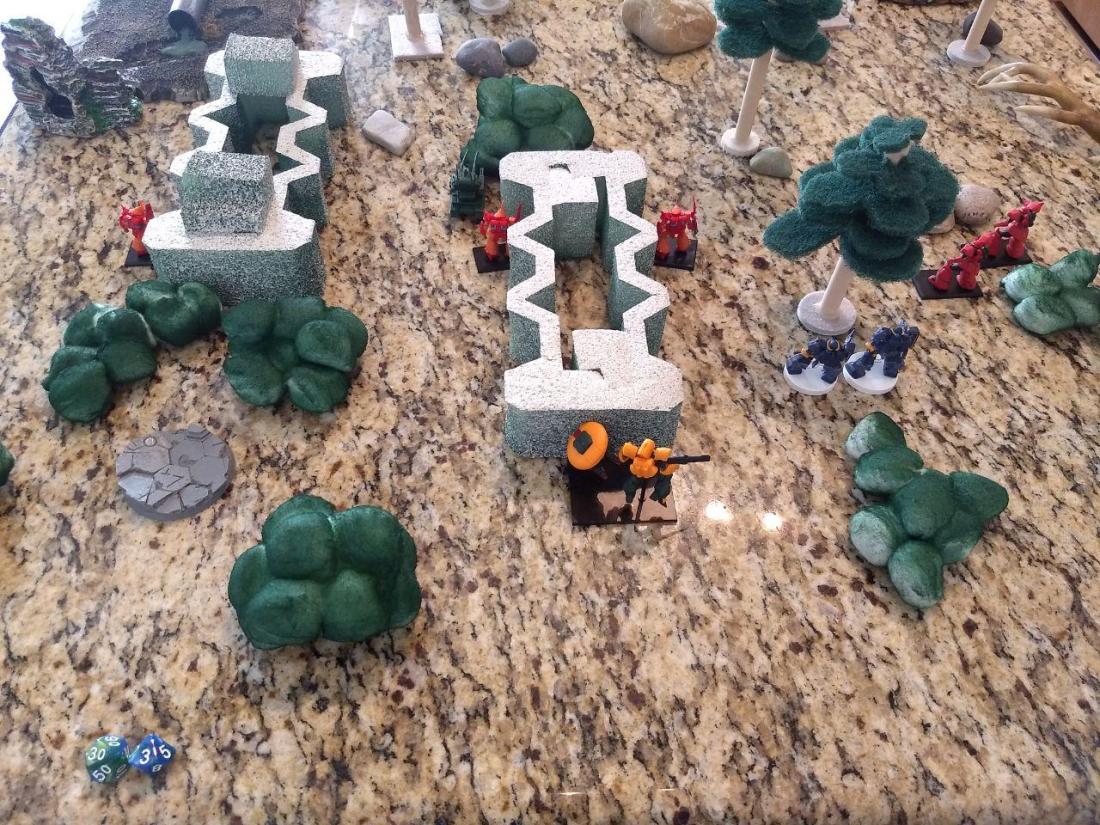
On the AEUG Side we have a Hyaku Shiki, Dijeh, and three Nemos pictured above. For a total of 500 points and 22 Pilot Skill. On the Titans side we have a larger force including two Ace Pilot Asshimars, 2x Hizack Cannons, a Guntank II, and 5 Marasais for 500 points and 42 Pilot Skill. As the AEUG player I found the difference in Pilot Skill to use this game pretty daunting.
We tried out a new alternate deployment that is meant for quick games where you don’t want to spend a bunch of time in the preliminary game doing the cat and mouse of deployment. For rapid deployment rules each side picks an opposing table edge, then you may deploy your model a distance away from the Edge equal to their Sensors range. Fast and simple we use this one often for pickup games.
ROUND 1
In the first round not a whole lot happened, we spent a lot of time maneuvering and finally Hyaku Shiki pushed into enemy territory. He took cover behind the industrial waste terrain and fired off a trio of shots at a Marasai but unfortunately luck and cover meant the Marasai walked away unscathed.

ROUND 2
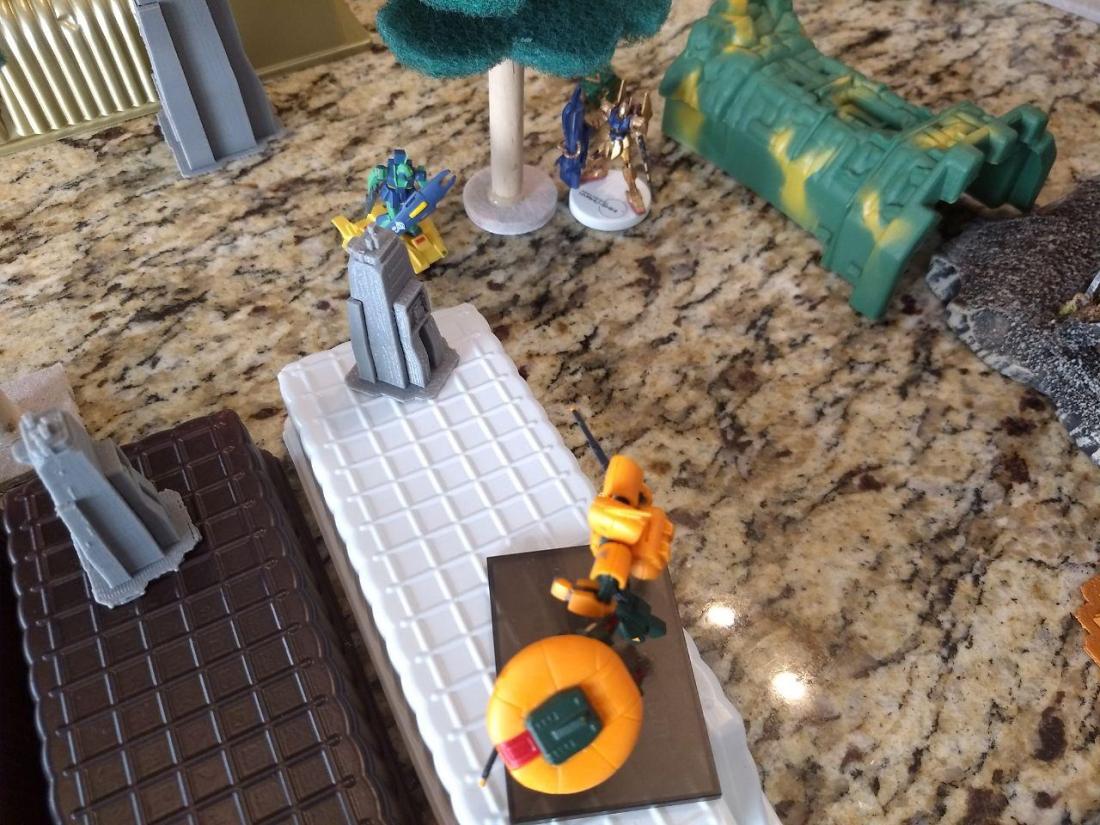
Round 2 was a bit more explosive. The AEUG player started the round using the Command: Red Comet which allows an Ace Pilot to go first this round and move further when boosting. Hyaku Shiki used this to great effect by charging into melee with the Marasai and destroying it then over to the Guntank II and severing its torso from its treads and finally leaping over the moss covered stone terrain (spray painted foam leftover from the Nintendo Wii box as I recall) to slice a Hizack cannon in the back. A very effective turn!
As the AEUG player my goal in this game was to take my hero’s Hyaku Shiki and Char and go after the skilled Titan units like Marasai’s hoping to drain the opponents skill pool. Since my units had better stats on average, the opponent had to cough up more skill than me to be a threat in melee. Overall it worked pretty well since I drained 12 skill in round 2 at the cost of only 5 of my own.

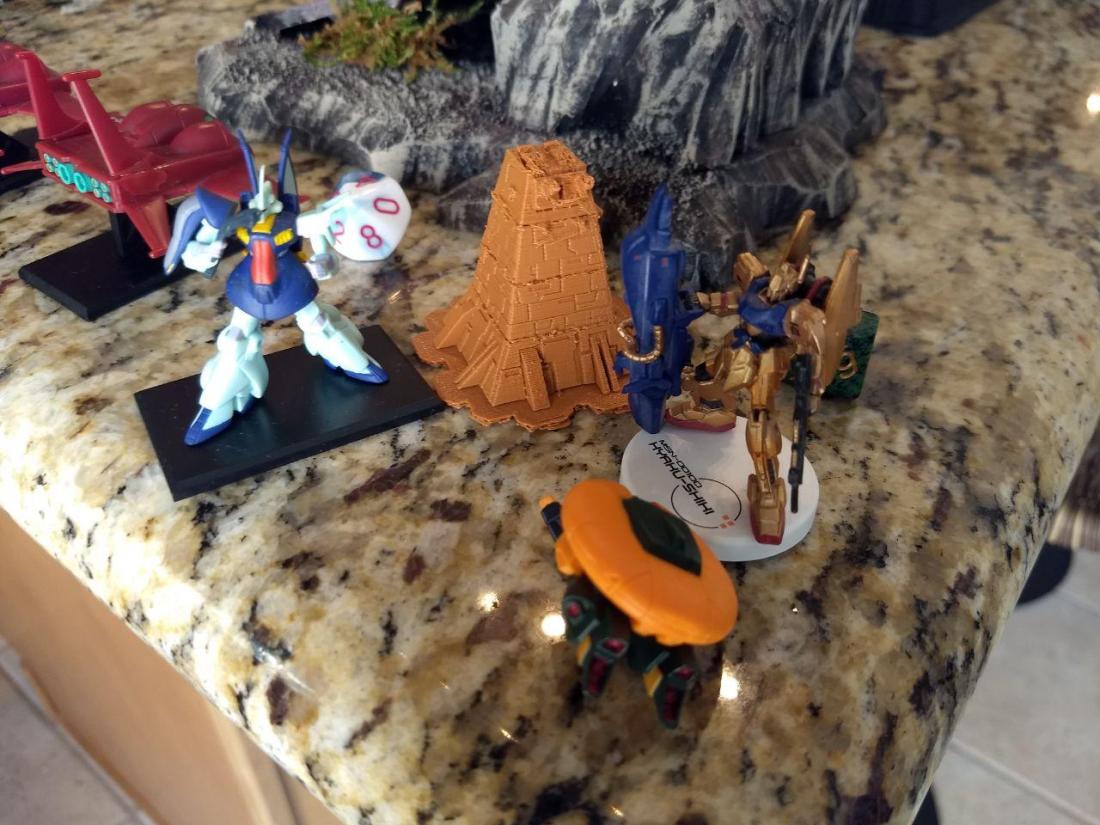
Titans retaliated and after a brisk volley of Machine Gun fire Hyaku Shiki had to make 6 point blank armor saves, luck was on his side for he made 5 of them taking 100 damage represented by the green die in the above picture.
Dijeh pushed forward and managed to destroy one Marasai with its Beam Naginata and injure another. The Marasais knew their objective wasn’t these mobile suits and pushed past Dijeh on their way to destroy the objective terrain and the Argama (represented by the Nahel Argama model). The Nemo’s put up a valiant effort defending but due to some unlucky rolls and the Marasai dumping more skill into the Melee clash they were victorious and a Nemo was lost.

At the end of the round the pair Asshimars was particularly bold and blasted past half the map to fire a pair of shots at one of the key terrain Objectives, the Mass driver, dishing out 2800 damage, leaving it with 200 HP.
ROUND 3
At the start of Round 3 Hyaku Shiki once again burns a Command Point on the “Red Comet” Command. He follows after the Asshimars, first he blindsides a Marasai destroying it in melee, but without enough movement remaining he has to settle for a pair of shots at the Asshimars who managed to evade with their very large skill pool.
Hyaku Shiki uses the few inches of movement left to take cover in a ruined area. The Asshimar’s split up, one jets off to lay down 1400 damage to the Argama, finishing its turn hidden behind cover and the ship. Our other heroic Nemo goes to engage the remaining Asshimar but after another string of bad luck rolling 1s he is defeated in melee and is actually destroyed by the Asshimar’s fists of fury!

The Asshimar free from the clutches of Melee jets over to join its companion and lay down another 1400 damage to the Argama. Things aren’t looking good for the AEUG.
ROUND 4
The AEUG Player used the Lightning Raid Command this round giving his units Move +5 and Melee +2. Hyaku Shiki goes first and in classic style fires his beam rifle behind him at the unsuspecting Hizack Cannon, 3 shots aided by Pilot Skill guaranteed he was finished. The goal here was to prevent him and his long range cannon from finishing off the key objective terrain.

Next! Hyaku Shiki pushed forward and struck an Asshimar in melee, however, just like in the show it failed to scratch its armor. In hindsight I regret not using the “Unorthodox Attack” Command which would have let my ace throw a weapon or shield at the Asshimar to stagger him and drop his action points. It would have given the terrain a chance to survive. Not so! The Asshimar player activates and destroys both terrain before jetting off in a transformed mode.
Alas, she was not counting on Amuro’s Dijeh to come boosting from midfield and with the Lightning Raid command he had enough movement for a shot from its clay bazooka and three melee clashes with the beam naginata. Transformed the Asshimar had a penalty on the first melee and on the 2nd clash the Dijeh finally destroyed it. Dijeh uses its last 2 action points to move closer to the last Asshimar cornering it.
ROUND 5
The Asshimar uses “Red Comet” to go first and makes a final strafing run dealing 1400 damage to the last key terrain leaving it with 1600 HP left. The Dijeh quickly follows and destroys it. When we finished scoring the game there was no surprise despite the heavy casualties that the Titans player one for crippling both the Mass Driver and the Argama for a hefty batch of Victory Points.
Overall very fun game. About half way through we realized we would need to clean up some verbiage on the Command Points to eliminate some confusion, otherwise a very successful battle!
