For this round the both the Federation has 4 Momentum and Zeon has 2. The Federation Forces wins the roll off and goes first.
If you have any questions about this round don’t hesitate to ask in the comments below.
Key Concepts
Targeting & Return Fire – Normally you must target the nearest enemy model. Skilled and Ace Pilots ignore this requirement. When a unit is attacked, if they have not gone yet then they activate next. This helps keep the conflicts feel local as pockets of Mechs duke it out.
Shooting Attack – The defender rolls 1d10 against every Shot. The target number is equal to the enemies Shooting vs their Evade. i.e. Shooting 7 Accuracy vs Evade+2 means you need a 5+ to Evade on each die.
Melee Attack – This is a free action usable only once per turn. Both sides roll a pool of d10s, every 5+ is a success. Whoever has the most wins!
Momentum – A pool of points representing your army’s morale, collective skill, and general sense of winning the conflict. Momentum is most commonly spent to negate enemy Hits so your unit can survive but your force begins losing Momentum as you prioritize survival. Likewise, Skilled and Ace Pilots can spend Momentum on decisive strikes to take down the enemy, but if they overreach it can leave the army defenseless later as seen in Round 3 with M’Quve’s Hide Bombs.
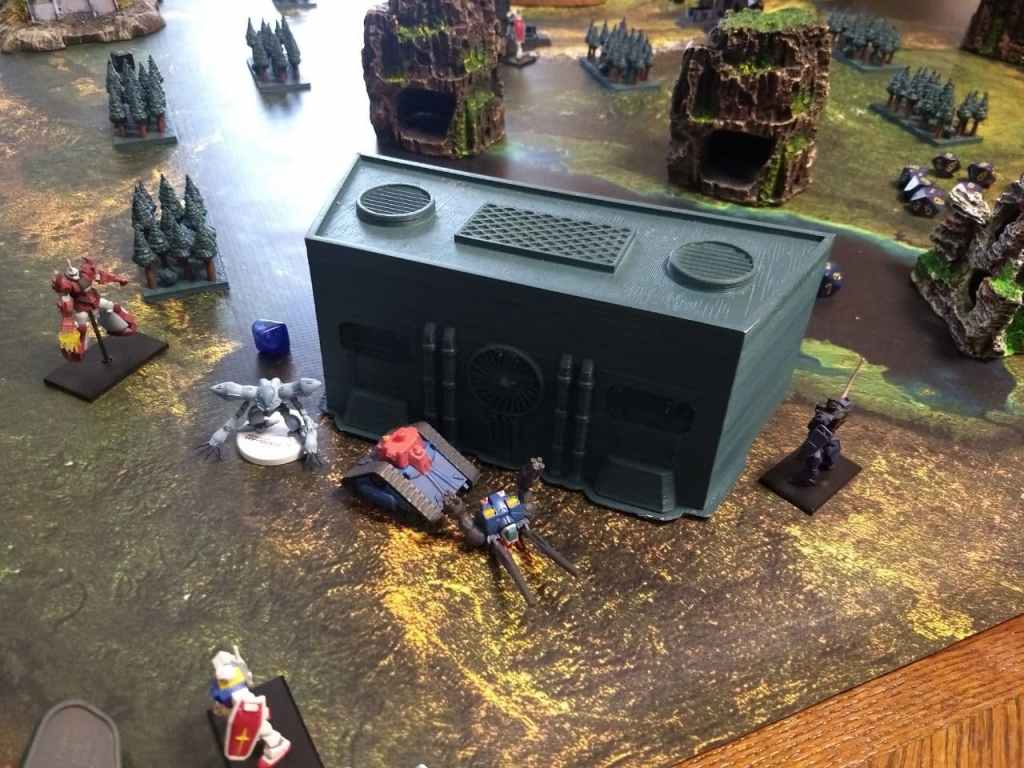
Round 5
EFF: The Gundam is the first to activate, the Federation player puts everything on the line. First he spends 3 Momentum on Aim, giving Gundam +3 Shooting Accuracy (9+3) this round. He uses his free Newtype Focus on a +1 Shot. Then he takes aim at the Gouf Flight Test Type and Rapid Fires (Shots+1) the Beam Rifle.
5 Shots, Shooting Accuracy 12 vs Evade+4. The Gouf FTT needs an 8+ to Evade. 4 Hits and the Zeon player only has 2 Momentum which they’d rather save for the Hy-Gogg. The Gouf FTTT is destroyed and the Federation gains +1 Momentum. But wait there’s more!
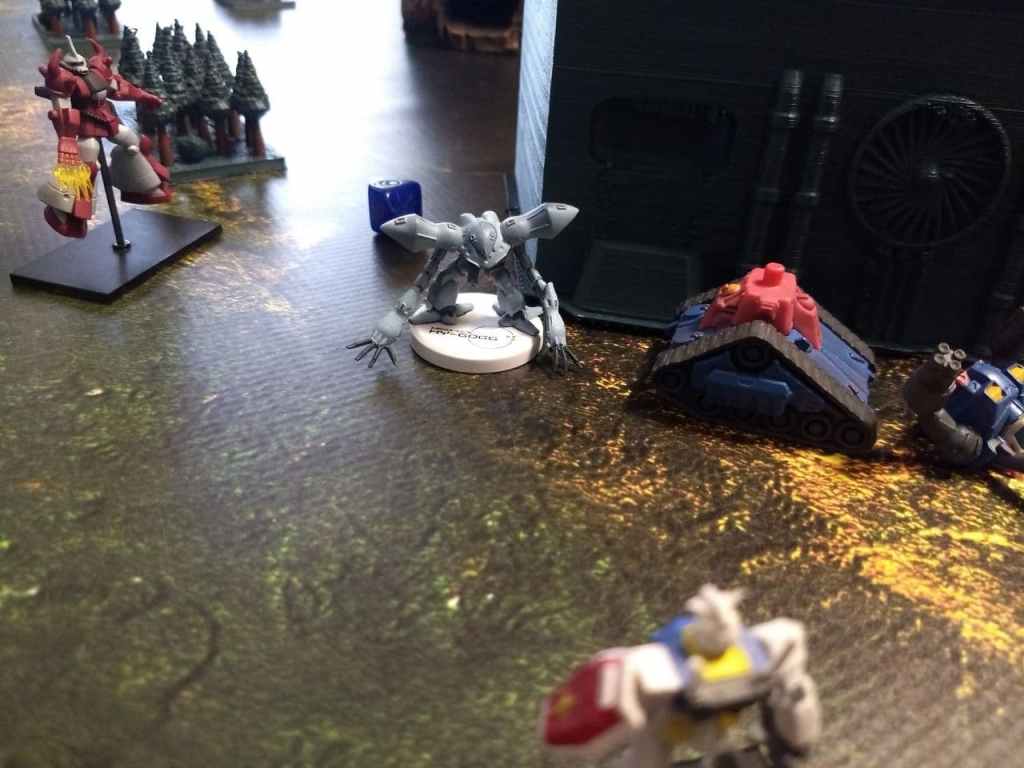
Gundam activate the “Tear through the Ranks” Command they’ve been holding onto all game for a chance on Amuro to use it to great effect. This lets him immediately attack another target in range with the same weapon. Luckily Aim, applies all turn, however Focus is only for the next attack. Amuro rapid fires the beam rifle into the Hy-Gogg
4 Shots, Shooting Accuracy 12 vs Evade+3, the Hy-Gogg needs a 9+ to Evade. He lucks out and rolls 5, 9, 9, 10, Elusive blocks the 5 and 1 Momentum blocks the Make it Count Amuro used. No matter, the Hy-Gogg is close enough for melee. The Gundam uses twin Beam Saber giving +1d10 Melee.
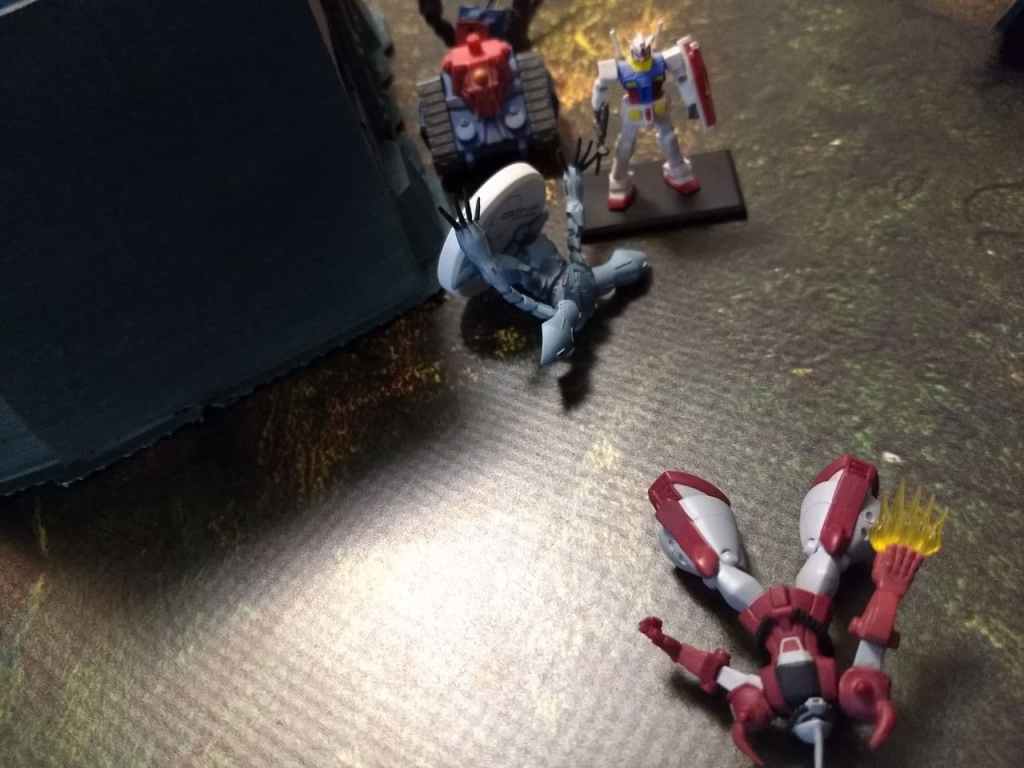
Gundam Melee 5d10+1d10 -> [2, 2, 4, 5, 8, 9] reroll the 2&4 into 3,3&5 = 4+1 Hits
Hy-Gogg Melee 5d10 -> [1, 2, 4, 6, 10] = 2 Blocks
3 Hits will get through. Zeon doesnt have a choice, they use their last Momentum bringing it down to 2 Hits and take 1000 DMG then have to make a PEN 6 Armor Save. Alas, only a 3. The Hy-Gogg is cleaved in half by a beam saber.
The Federation finishes with 4 Momentum, Zeon 0. It’s surviving units are the original RX78-2 Gundam with 900 HP remaining, a GM Cold Districts Type and Blue Destiny Unit 1 both of which survived unscathed.
Closing Thoughts
This was a very large game with many units, normally games this size take about 2+ hours since tactics, positioning and Momentum play a huge role in your victory. Smaller games with 4-6 units per side, such as in the Co-op mission packs can be anywhere from 20-40 minutes, which are great for a weeknight game.
Overall, this was a remarkably close game, had Zeon gone first on Round 5 there was a decent chance they’d take out the Gundam then have enough Momentum to survive the rest of the round. I thought for sure Zeon would be finished by Round 3 but due to some good rolls, great positioning and great timing on abilities and commands they were able to turn things around.
Unfortunately, they didn’t focus enough fire on the Gundam which ultimately flattened them at the very end. It’s a tough problem when you’ve got to choose between going after an extremely durable unit or several weaker units. Zeon went after weaker units for the most part, which allowed them to rack up Momentum.
It paid big dividends mid-game but they aggressively spent Momentum offensively and spent too much time oscillating between 1-4 Momentum, it came back to bite them when an enemy powerhouse hit their best units when they didn’t have enough Momentum to protect them. One of the fun parts of the Momentum system is deciding how you’ll spend it, in some battles you may want to horde it for your ace pilots, in this battle the goal was to keep as many units alive early on to have more turns each round.
Since this was a simple Deathmatch style game, most of the tactics were straightforward and geared towards wiping out as many enemy units as efficiently as possible. Secure the Objective focuses on capturing Area to earn victory points while Confrontation rewards you for every unit that survives.
Alright, you have read through the entirety of the MechaStellar VER 7 example of play, thanks for reading! If you have any questions about what took place in this example please feel free to leave a comment below or use the Contact button at the top of the page.

One thought on “MechaStellar – Example of Play – Round 5”